
What is a Raspberry Pi
With the recent launch of a digital media with hifi aspirations product based on the raspberry pi, in which I covered, curiosity got the better of me, and I started to search for for information about the raspberry pi, which was developed by some of the biggest corporations in silicon valley with a very noble aim to elevate the standards of American public school system by creating an affordable computer platform for students. A raspberry pi is simple small computer the size of a credit card which can be plug into a TV / Monitor with keyboard and mouse it becomes a regular computer. Like all noble intentions, the raspberry pi was so successful, that it found use in other commercial applications as well, due to it’s low cost, and extreme simplicity. It wasn’t long that hifi companies noticed it’s potential as a platform for an entry level digital media player! This article is the starting point in a two part series, where we follow the journey of a fellow DIYer Simon, who enthusiastically agreed to share his project here.
There had been several generation of pi are released in the course of last 4 years. The first pi was introduced in 2012, the raspberry pi 1 and the latest raspberry pi 3 released this year 2016. The pi had 4 USB ports, HDMI, 3.5mm audio jack, RJ45 port.The latest version of pi 3 Model B had onboard wifi and Bluetooth build in. For the older generation will require wifi USB dongle to have wifi capability.
Rasberry Pi music player.
Before we start to build the player there are few components require for a basic player.
- Raspberry pi. (any model)
- Micro SD card (4GB)
- Micro USB power supply (hand phone charger
- Operating system (Volumio, Runeaudio)
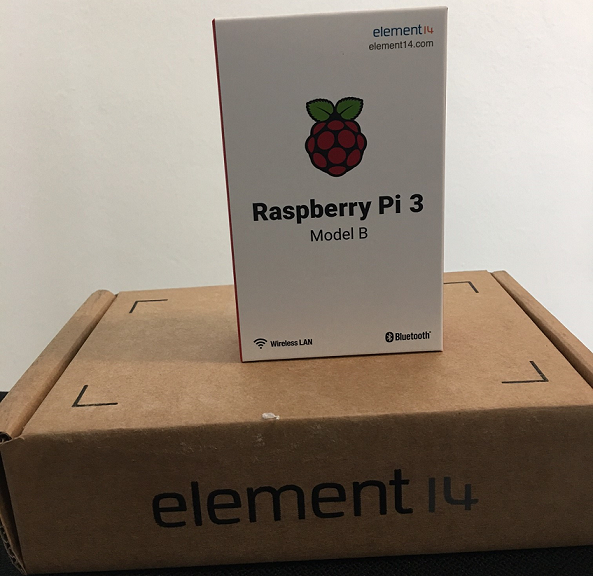
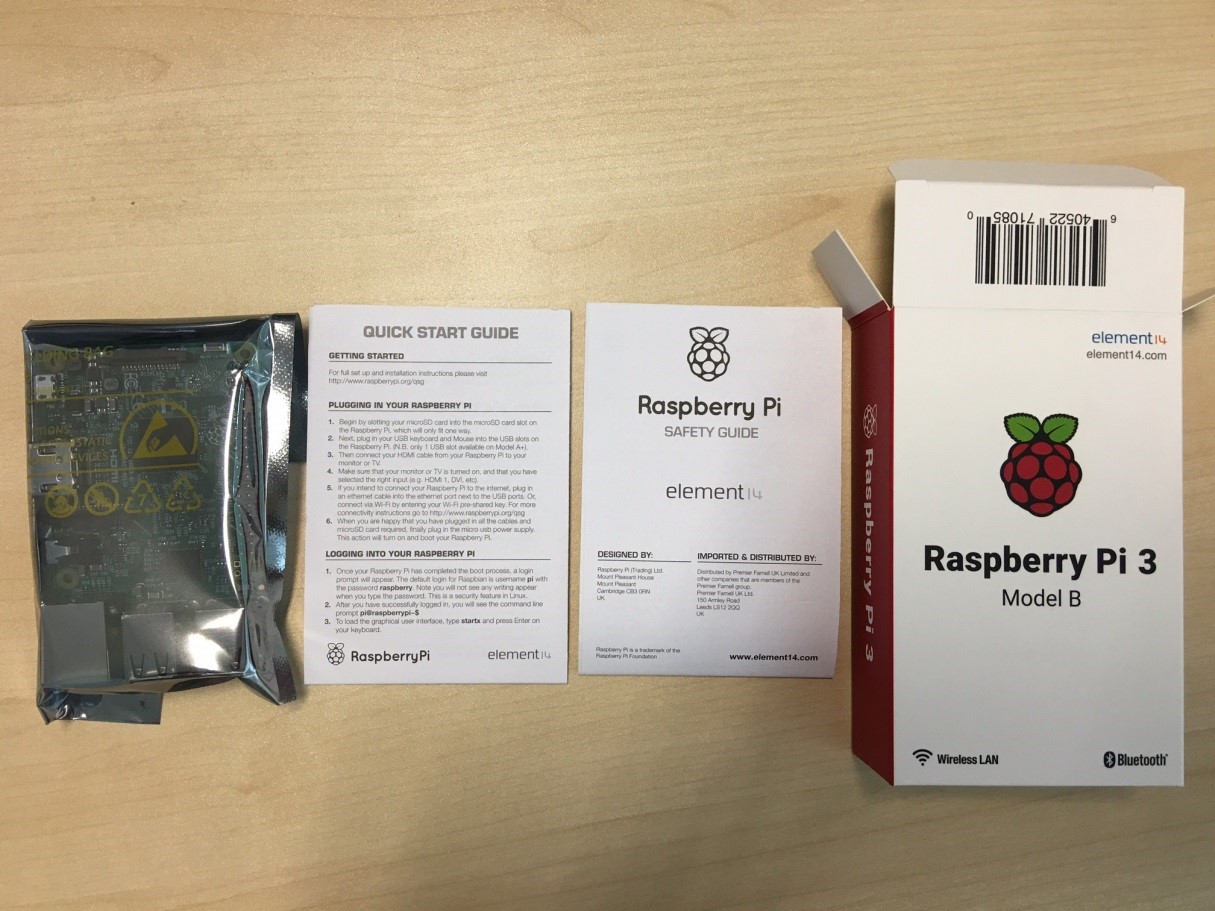
The raspberry for this project will be a pi 3 Model B which I had purchase online from element14 which is the official distributor for raspberry pi products. The other accessories like casing, power supply, SD card, wifi dongle are also available at the website, here’s the link: Raspberry Pi
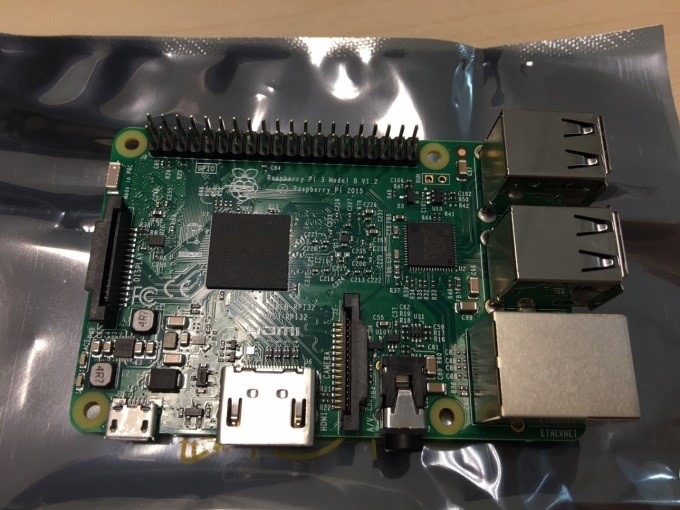
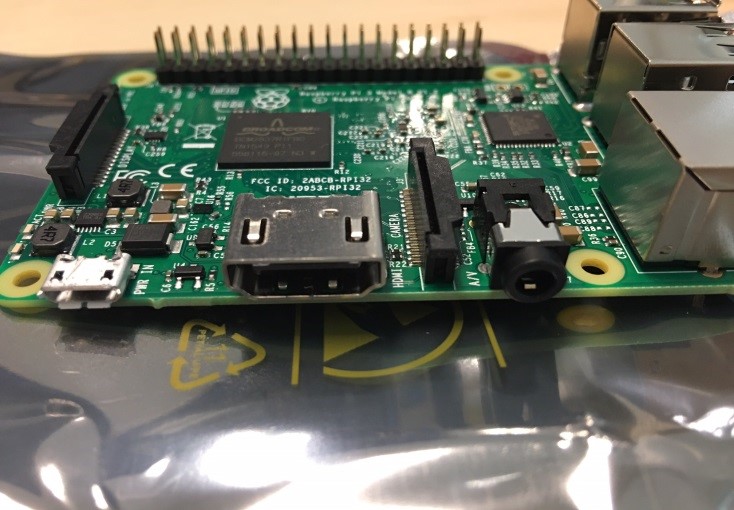
Pi 3 Model B (bare board)
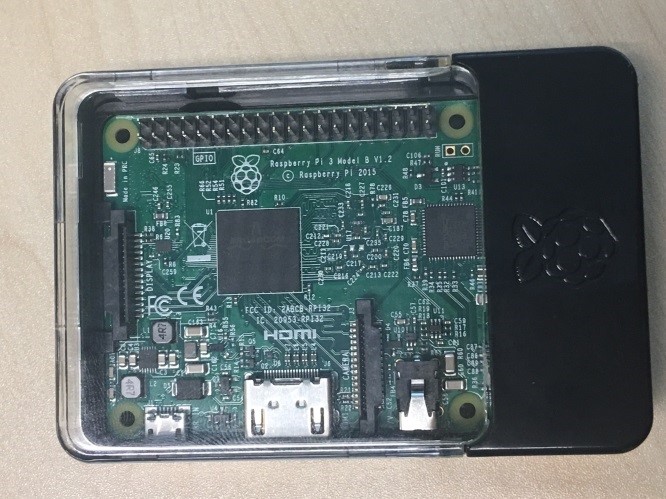
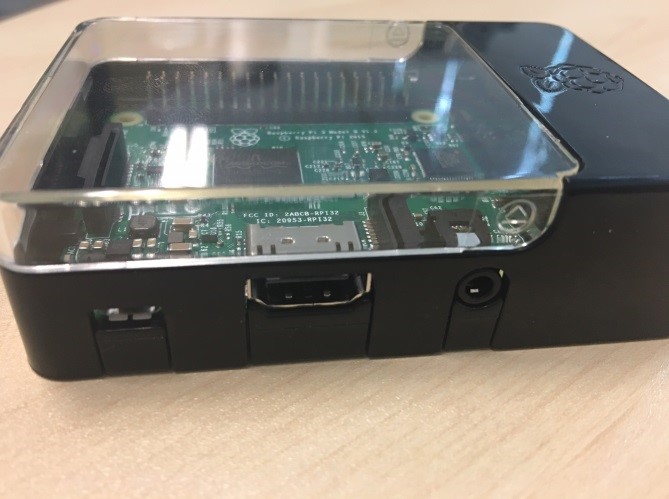
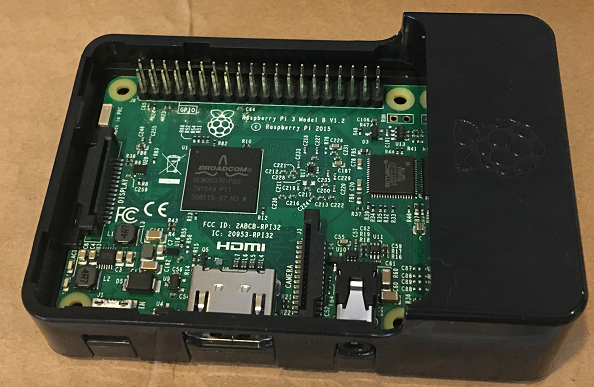
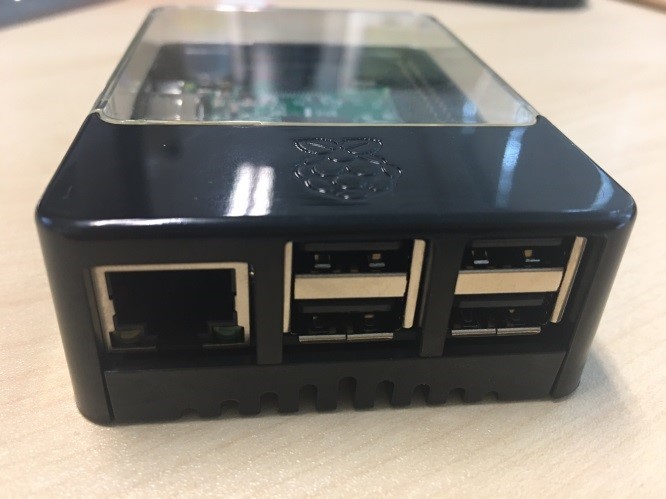
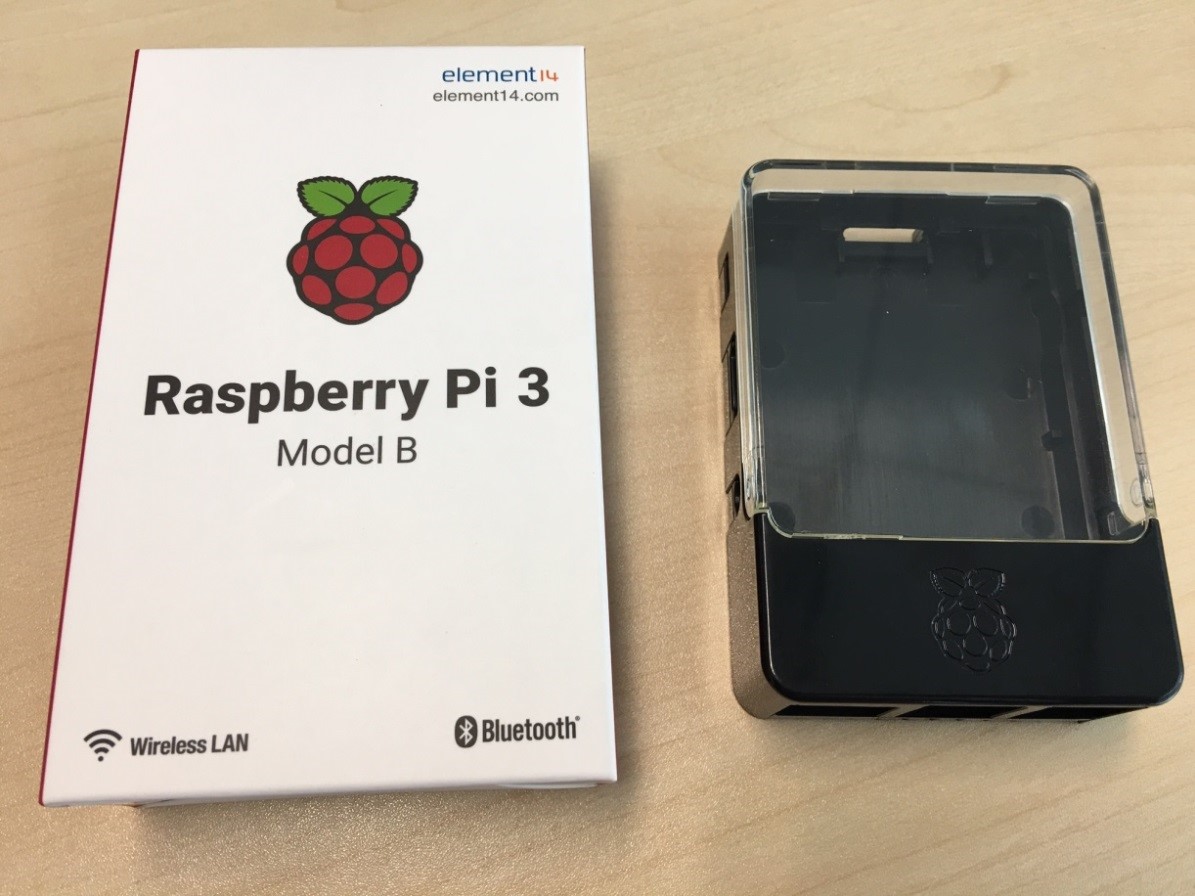
Pi 3 Model B with casing
There are many different types of casing for the pi. Is personal preference and budget to select on the casing. The above is a plastic casing with transparent top. There are also custom made casing of wood, aluminium.
Operating System
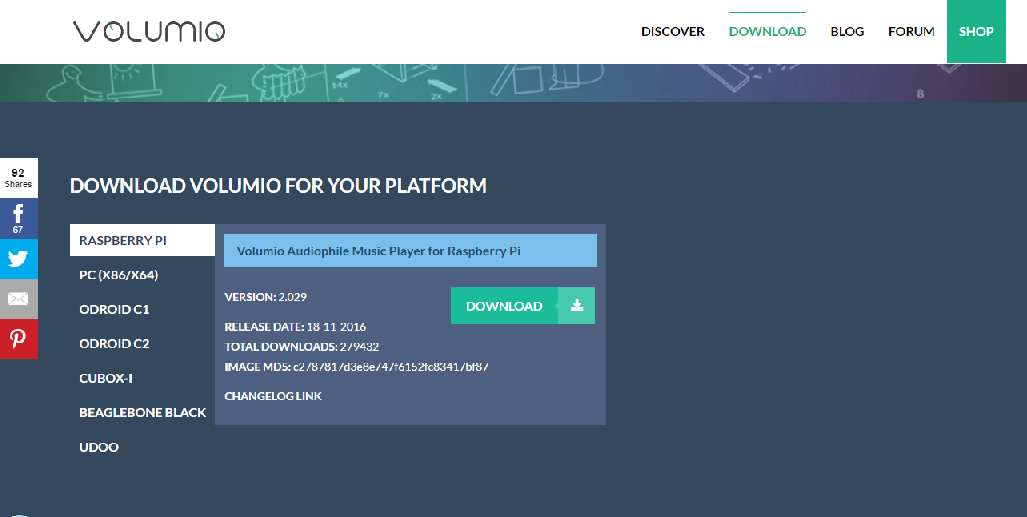
I will be using Volumio is my O/S to build my music player. This is the link to download the software of volumio, here. Will be selecting the version for Raspberry pi. Volumio is a freeware build by music enthusiast based on the Debian variant of Linux operating system. To keep the system optimum the operating system is simply strip of all non-essential to have the best performance.
Below instructions are for mac:
- Once download has finished, you’ll have a zip file
- Extract the downloaded zip file and you’ll have a .img image file
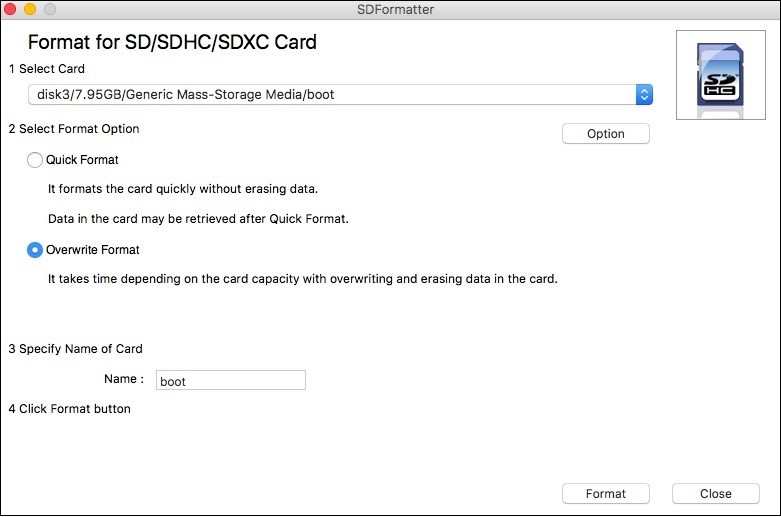
- Format the SD card you will be using. Make sure you select the correct drive.
- Do not use quick format. Is recommended to full format to ensure the SD card is clean.
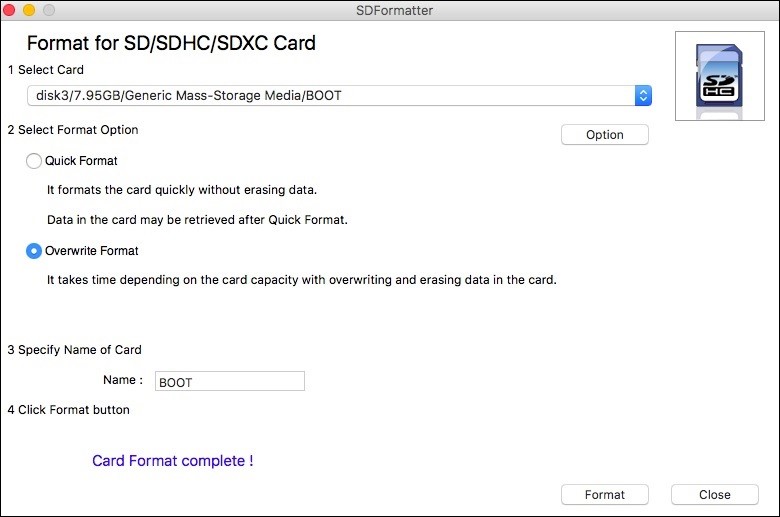
- Once the formatting is complete, you are ready to write the image into the SD card.
- Download and install Etcher, which will write Volumio to your SD Card
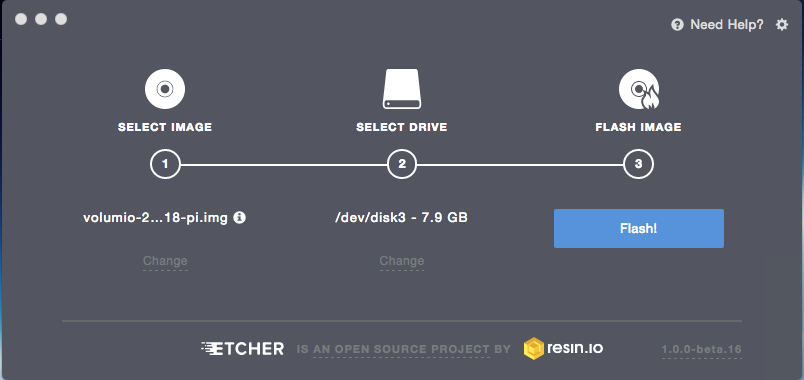
- Open etcher, and click on “Select Image”. Now select the Volumio .img file
- Insert the MicroSD Card on your computer, you could use an external card reader or the SD slot if your computer has one.
- Click on Select drive, and select the SD Card \ SD Card reader.
To be safe, unplug every External USB Drive you may have connected to your PC and make sure that the device name correspond to the microSD card - Click “Continue” and when ready, hit “Flash”
- When the operation has finished (it may take up to 10 minutes)close Etcher and eject the SD card
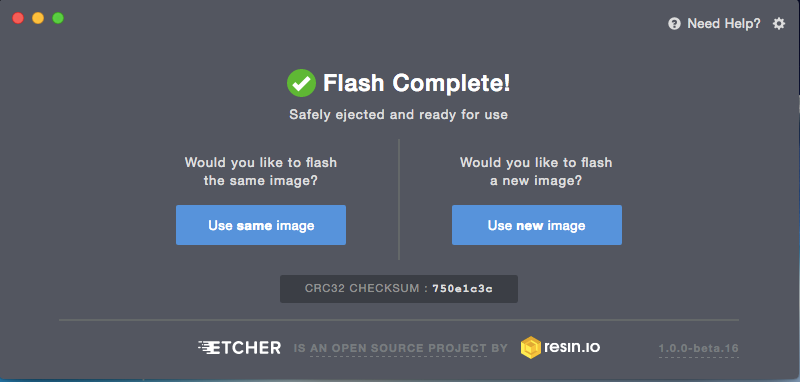
- Done! Volumio is now on your SD Card!
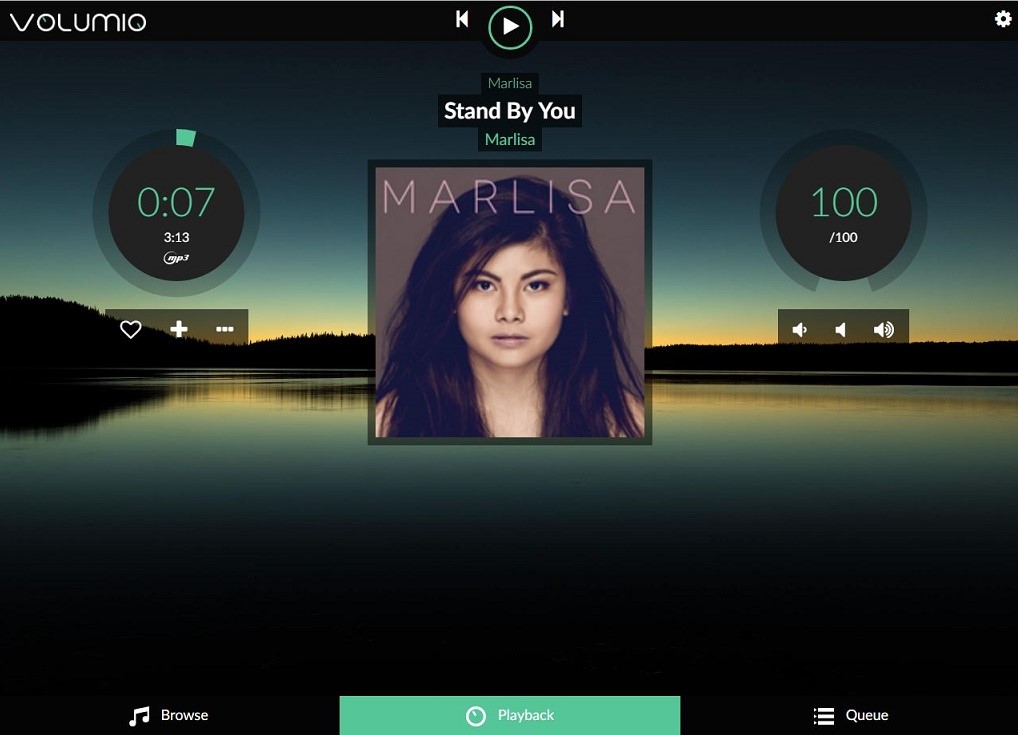
Pi music player with Volumio
Now all is ready with your micro SD card loaded with the volumio. Just simply insert the micro SD card into the pi SD socket at the bottom of the pi and you are ready to rock and roll. Pretty much everything is plug and play. Volumio is design to be “headless” player. For first time using, is require to have the pi connected with a network cable. To access the player, simply launch a browser from your computer or your smart phone. It works with all different browsers be it Chrome, Safari, Internet Explorer or Firefox. Just type in the URL: volumio.local or the IP address of your pi.
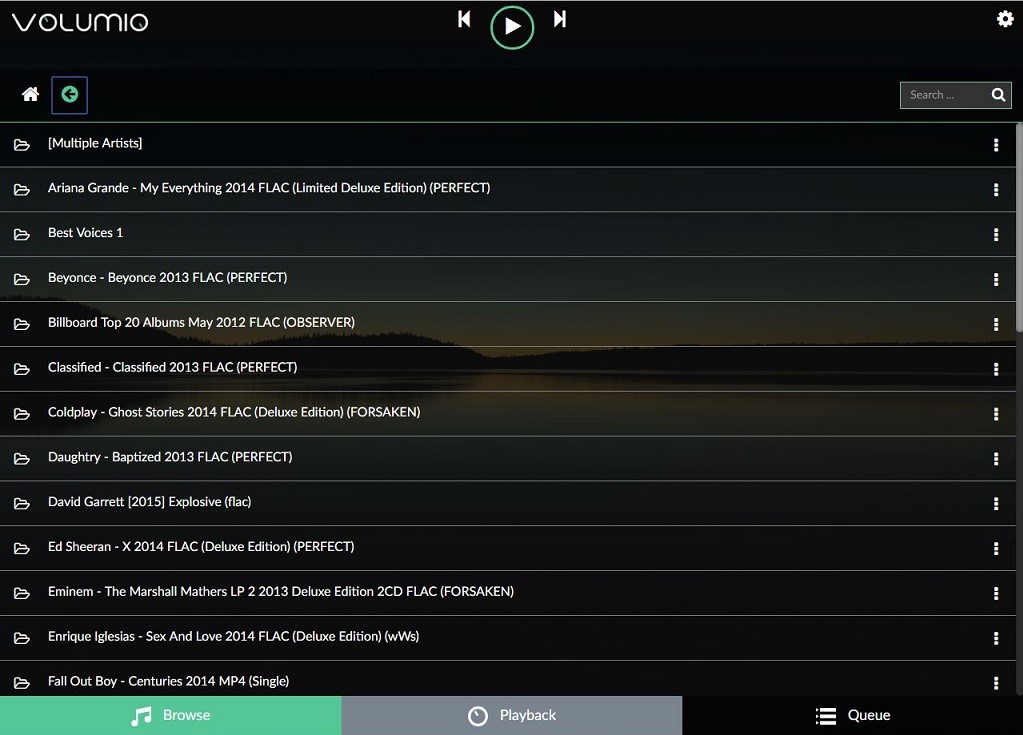
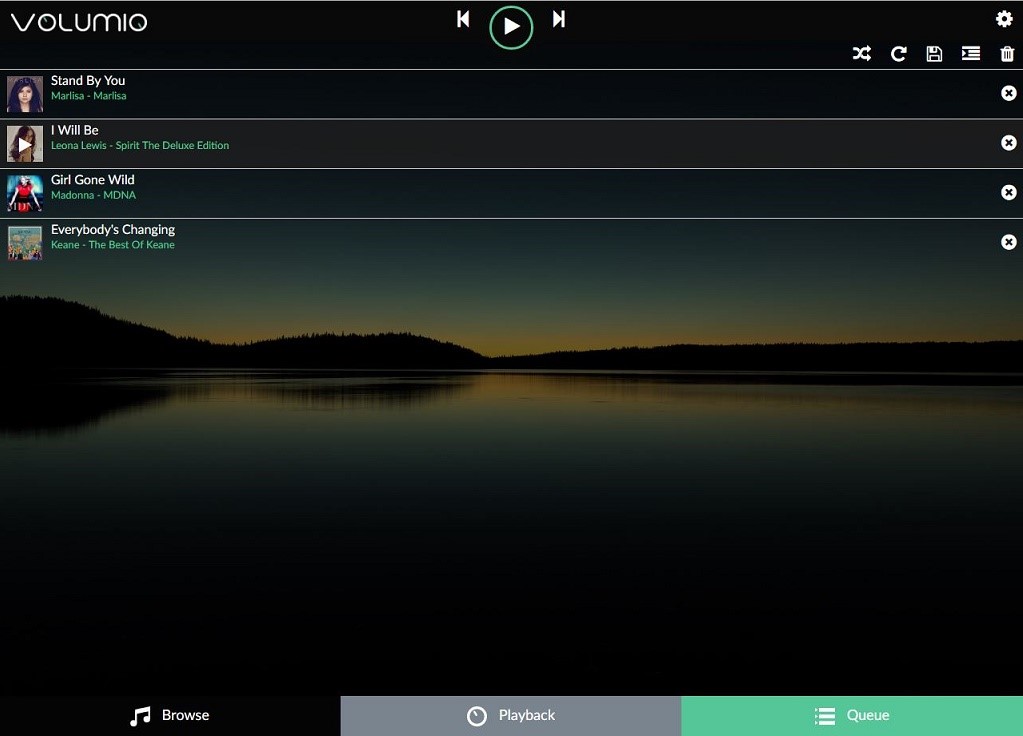
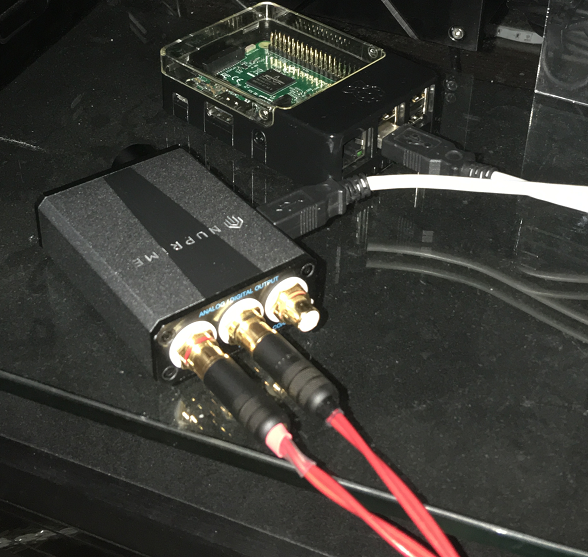
The volumio play all the common high resolution files, like flac, wav, alac, dsd. Music files can be loaded in storage like USB thumb drive, HDD to be locally connected via the USB port. It also support NAS storage with file sharing within the network. Music can also be stream over the airplay from any apple product like iphone, ipad, mac. With Volumio working as a player with raspberry pi hardware, there is various option to output to. The most simplied will be connect the raspberry pi to external DAC via its USB. With this example, the connection from DAC to pre-amp or integrated amp will be either RCA or XLR. For head phone lover, the raspberry pi came with a 3.5mm jack for the earphone. Simply just plug into it and start listening. That is all about it, a small little package with big sound. Enjoy……..
With the simple build completed and raspberry pi digital media player set up in a few hours, we will next organize a listening & shoot out session with other digital media players of hifi quality available in the market today, to benchmark where this little DIY project, costing less than RM$500 stand, in terms of sound quality.
Stay tuned.