
By Venoth Nair
As a community that’s passionate about the hi-fi and home theatre hobby, we tend to pride
ourselves on selection of equipment and enthusiastically part ways with enormous amounts of
wealth in the quest of performance excellence. In the case of displays, many high-end TVs and projectors can run upwards of an eye watering five figures. Flagship models from LG, Panasonic, Sony and Samsung are almost always premium in price especially if the panel exceeds 60 inches in size.
The situation is compounded for projectors with high-end native 4K models from the likes of JVC and Sony costing upwards of 20 grand!
Part of the reason for the extraordinary prices when it comes to these high-end models is due to all the superlative materials, processing prowess and pure power that’s parked under its hood. These features allow the equipment to perform extraordinarily well in various conditions and deliver the best possible output given the content. There are however certain aspects of these display which require it to be properly set up especially when parked in a home or dedicated cinema room environment. This is because more often than not with TV’s particularly, the settings are done to fit a specific balance. In almost all certainty this would involve excessively bright and overtly vivid images, which are there to draw your attention among the sea of varieties in a typically well-lit showroom floor.
In order to correct these settings to make the display more accurate, it needs to be calibrated first.
The process of calibration is an act of using tools and equipment to measure and ensure that the produced result is able to replicate the result with respect to a predefined standard. In the case of a display it is about adjusting parameters within the unit to ensure that the outputted image is colour and brightness accurate. There are many off-the-shelf tools such as calibration discs and software that can be used to achieve this, which in essence allows owners to DIY the process. Doing this can lead to somewhat satisfactory results as you are adjusting to suit your taste and that isn’t exactly a bad thing, but be warned there is a caveat.
Though as satisfying as it may be, especially when the end result looks good, this isn’t actually the correct means to achieve it. This is simply because each adjustment needs to be measured in order to properly confirm that a point is in fact in the correct place. Sometimes an adjustment which will look good in one image will be absolutely terrible in another.
Variations like this occur because of the nature of components that make up the output which involves multiple parameters moving in multiple planes. Also worth mentioning is that different makes and models of displays allow for different parameters of adjustments and scales to those respective parameters. Getting this right without a system is nearly impossible.
To do this, you will need sophisticated equipment and software that will evaluate the image outputted and confirm that it is in fact accurate. When complete the entire spectrum of colour will be in its correct space translating to image output that is exact to the source and not inadvertently altered by the display itself. In the case of a projector, the environment (with external light sources and factors such as the screen) can also add possibilities for deviation. See how quickly this setup can go awry?
Well there is an easier way.
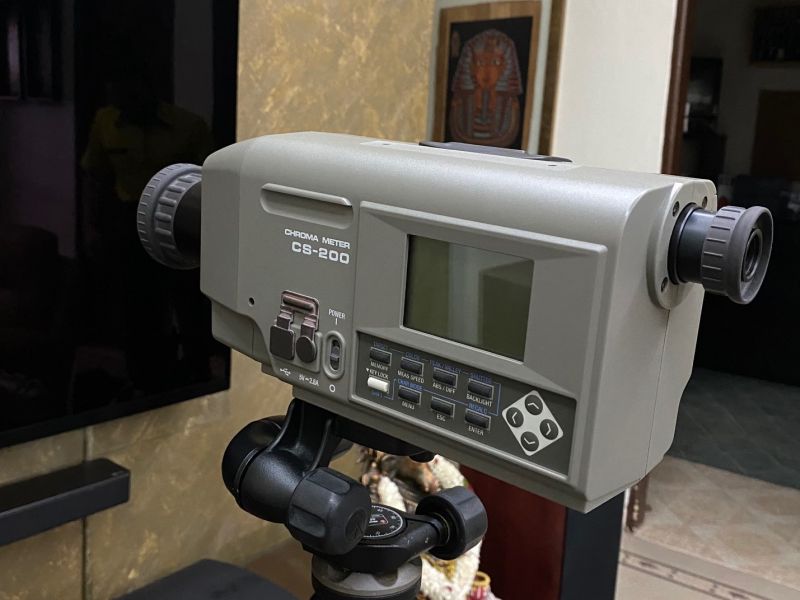
This is where service providers which are properly trained and have both the experience and correct equipment to carry out the task come in. The team at AV Designs, who have been installing projectors and TVs since the Palaeolithic era not only have the experience and expertise, but an arsenal of weapons at their disposal such as the SpectraCal C6 HDR Colorimeter and Konica CS-200 Chroma meter as well as professional software like Calman Ultimate 2021 calibration from Portrait Displays. Attacking the daunting foe that is calibration becomes effortless with this combination of tools and traits.
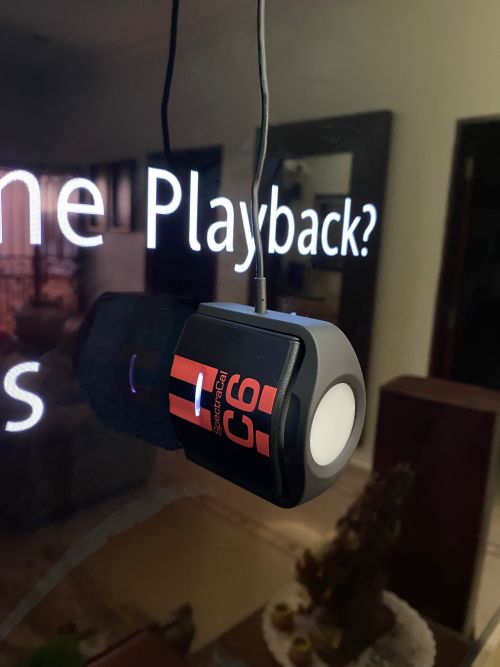
How James Tan approaches the task is by first conducting an analysis of the current TV output which will be done through a series of measurement points which will help to plot out the colour characteristics in its component colours. This is done by using a probe that sits either on the screen or slightly away from it on a tripod depending on the probe type (for projectors the probe will be tripod mounted facing the projector screen) which will take snapshots of outputted samples. These specific samples allow the software to gauge how accurate the output is against the actual appearance of the colour. This difference is then plotted onto a graph to visualise the image output allowing the calibrator to assess the current performance of the display.

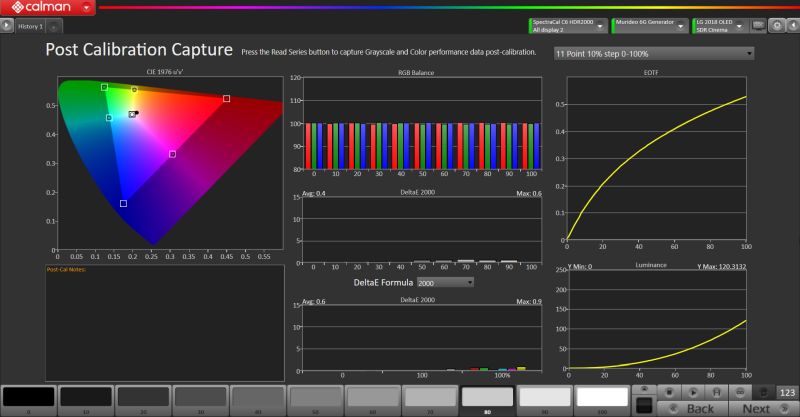
Once measured, the data is processed by the calibration tools and the tabulated adjustments are programmed into the display in order to correct offsets and ensure that the colours are in their correct space. The final result is then given the once over by the calibrator and tweaked a little to fitthe environment (or user preference if desired). Overall the process took the better part of a day in order to get it done for SDR, HDR and Dolby Vision though the times can vary depending on type as well as the make and model of display. In some cases (like mine) the entire system is able to do it automatically with the software communicating directly with the display for a seamless process.
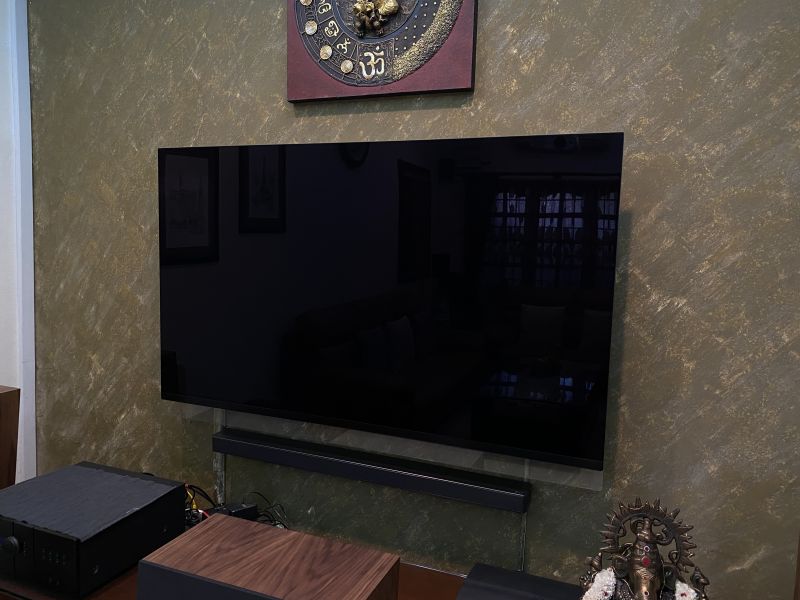
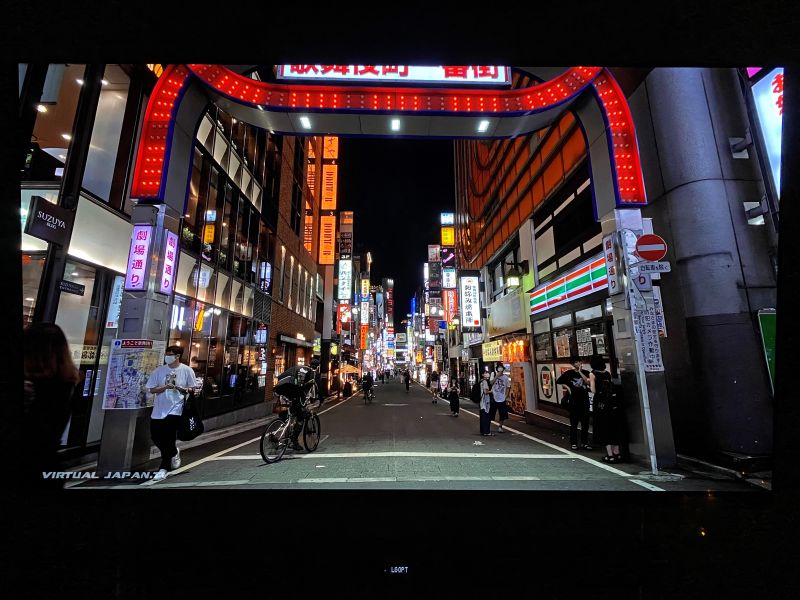
The end result? Eye opening. The difference was rather apparent irrespective the format and is most clear with movies that you may have watched many times over. Colours take on more gradients and appear more lifelike. That ultra-bright, overly vivid image that is commonly seen when it’s fresh out the box is replaced with a far more relaxed image which leads to a better dynamic range. My LG E8 was already a great image renderer when it was fresh out the box, but after calibration it felt like a brand new display.
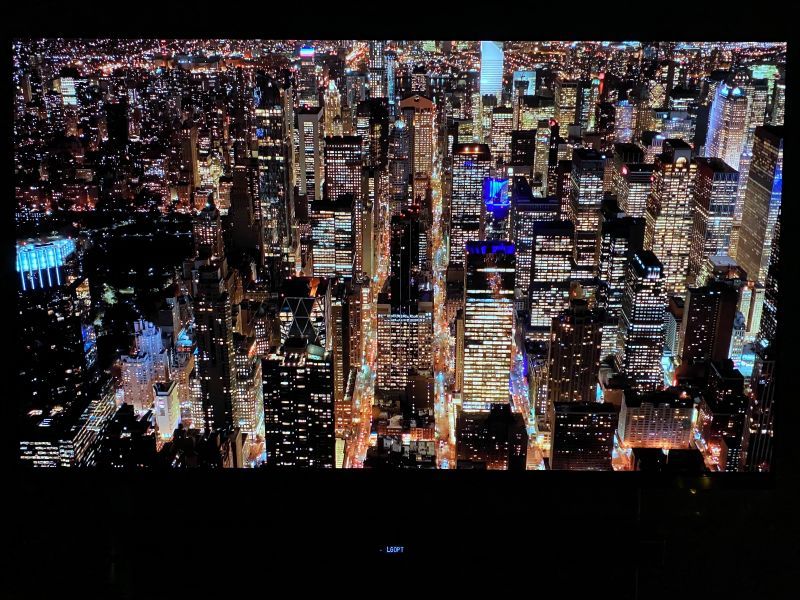
The initial settings of the TV from the factory have a very strong focus on Blue which helps to push the overall brightness of an image making it pop aggressively. This is great for a super bright showroom floor and terrible for a dimly lit household, not to mention worst for your eyes. After calibration images took on a subtle tone which gave the display more headroom to exhibit range in brightness. This meant a scene with intense brightness was more apparent and gradients between colours are more intelligible.
Dark scenes take on a whole new level of engagement with inky blacks and amazing shadow detail. Contrast between flames on wooden torches against the darkness of the background look amazing.
Suddenly I find myself rummaging through my movies, looking for any with dark scenes just to analyse if any details were missed the first time over, and there actually was quite a bit.
The overall experience was most definitely rewarding post calibration.
An entry level or mid-tier TV may not be ideal for a professional calibration however mileage may vary depending on the make and model; however projectors in almost any case will most definitely gain much from having calibration done even in its most basic form. That being said, the benefits of having a display professionally calibrated cannot be overstated particularly when a large chunk of money is spent on a high end TV or projector. A calibrated display matched to an expertly put together surround sound system will ensure that you are getting the absolute best performance from all your equipment. The impeccable coherence achieved between each component will most certainly lead to an immersive and satisfying experience. One that will leave you thirsting for more.
For more information on calibration and other professional services do contact AV Designs at 03-62411237.